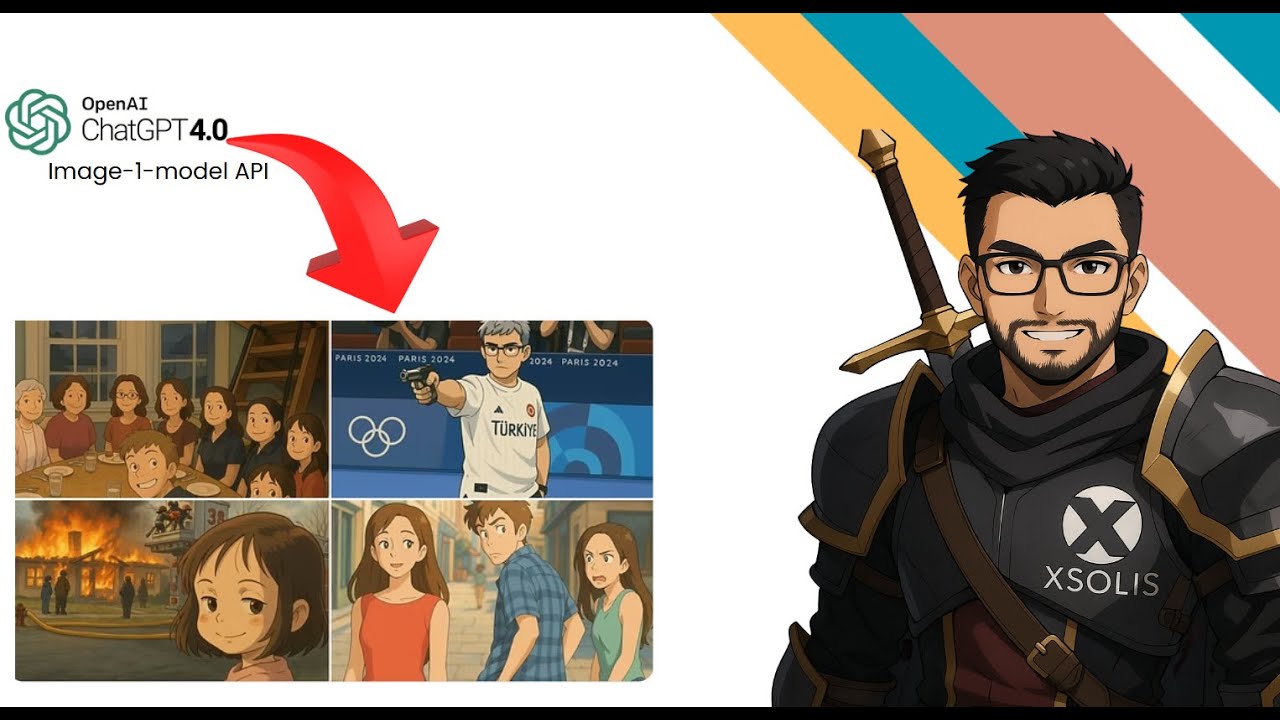
OpenAI's New Image API is FINALLY available : Open WebUI and other use-cases
Now Playing
OpenAI's New Image API is FINALLY available : Open WebUI and other use-cases
Transcript
273 segments
Hello everyone. This is Professor
Patterns and in this video we're going
to be going over the new GPT image one
model that's now available through the
OpenAI's API. Now this is a really
powerful model and I've been using it
for so many different applications. Now
one way I've been using this is I've
actually created a pipe function on Open
Web UI meaning that I can now use this
model directly on here. Sure, I can use
it to generate images of an apple. But
here's another image of this person
who's staring off into the distance. And
you can see it's incredibly realistic.
Um, I also have another image over here
of a warrior priestess. And now I can
even compare this to what I have on chat
GBT. And chat GBT actually doesn't come
close. Even though it is the same model,
I do have a lot more insight into the
parameters and I can tune a lot of those
parameters as well depending on the type
of uh output that I would like. So
that's one way I've been using this
model. Now another way that I've used
this API is I've simply created my own
sort of web app that's running locally
on my computer. It's an AI photo booth.
I'm going to share the entire codebase
with you. So you can even try it out for
yourself. Uh maybe you can create your
own sort of photo photo booth and
variations of it. Now it's a very basic
application. All it does is that I can
either take a picture or I can upload an
existing picture. Let's say that I take
a
picture. Now I can say well turn this
into a Disney character. And then I'm
going to hit transform image. So it's
going to transform this existing image
into a Disney character variation. Now
over here I also have another variant
where I actually uploaded an image. So
this is the same exact image that I've
been using for um every single one of my
YouTube thumbnails. I uploaded the image
and I said turn this image into an anime
warrior character. And then this is what
it ended up getting me. So I can
download this image now. And then if I
take a look, this is what the output
looks like
currently. So you can even create your
own ideas. For example, where users can
go in and say it's like a variation of
this app. A user goes in, takes um a
couple of pictures, maybe some of their
front face, some of them looking at the
side and the other side, and then your
app essentially generates like a um
LinkedIn headsh shot or actor type head
shot or something for them. So those are
a couple of different variations of this
app that you can kind of turn this into.
Um, if you take a look over here at the
Disney character, this is what it
actually generated. Uh, this was the
base image and then this is what the
output looks like. Now, the main thing
that's powering this is the OpenAI API.
Now, to actually get this OpenAI API
key, you will have to create an account
on OpenAI. And then once you created
this account, you will also have to
verify your organization. Meaning that
you have to upload maybe like a driver's
license or something and then upload a
picture of your face and it verifies
that you are that person. Once you do
that, it it is pretty much
instantaneous. It's not like you have to
wait or anything like that. But once you
do that, you will then be able to use
that API. So then all you would do is
just go over here to API keys and then
ask it to generate a new API key for
you.
Now, yeah, sure. Sure. Okay. Well, at
least it's not showing all of my API
keys. But this is what you would do is
just create a new secret key and then um
you can copy and paste that key put it
into whatever application that you
wanted to whether it's open web UI or
your own apps. Now if you go over here
to the image generation API sort of
overview it gives you a full idea on
like all the things that this sort of
API is capable of. So first we can use
it for generating images. So this is a
very basic one just use it for image
generation. And this over here we can
see the code in either Python or curl or
JavaScript. So say for example Python
all you would do is you can simply copy
this code put into a Python script
execute it and it's going to run it's
going to help it's actually going to
create uh these images for you. The
other thing that you can also do is edit
images. So over here it's showing us an
example where we have 1 2 3 four
different images and the prompt is you
know collect or put all of these items
into one basket and then that's this is
the output. So these are four input
images and this is the final output
image. It also gave us the code that we
would use to do something like this. I
actually used parts of this code to
generate the app over that I had shown
before uh where it generates variants of
an existing image. There's also other
things like edit an image using a mask.
So like in painting for example where
you have this as the uh base image and
you can uh say okay well this part of
the image maybe I want to add a flamingo
or something. So you can specify what
part of the image and then based on that
it will add in the appropriate location.
So there are so many different things so
many different um characteristics that
you can take a look at. Um the other
place that I also recommend go uh taking
a look into is the image API. So this is
a little bit more of a in-depth
documentation. So it shows you all of
the APIs that you'll need for create
image uh which is going to be this one.
You can look at the Python code or curl
or NodeJS code for example. Um you can
see that there are a bunch of different
parameters. We have things like uh the
prompt. We have things like the
background the model. So moderation. So
any content moderation that you want
either you can have it as low or you can
just have it as the auto. and auto is
usually going to be the default value.
Um, you can specify the output format if
you want it as PNG, JPEG or WEBP format
or or anything like that. The quality
now well this is going to be really
important because this directly ties to
the cost of the model. So sure we can
use something like uh medium, high or
low or the GPT image one model but then
the pricing actually for these models
does end up being a little bit more on
the costly side. So, I've actually been
using the these models for a while. I've
actually generated like so many
different images so far and total cost
$8. So, it's not like it's breaking the
bank or anything like that. But, um you
you still want to be careful. Imagine
that you create this app and you just
say, "Okay, you know what? I just want
to have everyone around the world uh go
ahead and start using this app of mine
for free." Well, uh, this is me
generating I think about, um, no, it's
not 82, but it's, uh, close to about 30
or so images when I was actually testing
everything out, and that costed me about
$8. And these are actually going to be
the high quality images. So, that's the
main sort of difference over here. So,
the entire API reference for all of
these things are available here. The
only thing that you'll have to do is
just verify your organization um
generate a new API key and then you can
use this as a reference for whatever app
that you wanted to create by yourself.
So in my case the what I did was I
simply u copied this entire
documentation and I put it onto VS code
client and this is what it gave me. I
just simply went over here and I said,
"Hey, you know, can you convert this
into a web application and it did it did
all of those things for me." So, if you
haven't watched my series before on um
you know, vibe coding or AI based coding
or anything like that, I'm going to link
that in the description. Um that will
show you exactly how I'm not really a
coder, but I've coded all of these
things from scratch. Sure, there there
could be some flaws and security
vulnerabilities, but I've made sure not
to include any of my API keys in the end
variable. And just for safety, I will
still purge all of my API keys after
this video. Now, within Open Web UI,
that's the other place that I've
actually put this into as a pipe
function. So, if I go over here to my
admin panel and then select my functions
over here, the image gen, that's the
function that I created. I also have one
for variations of an existing image. Um
but the image gen this takes in a list
of different things as the input. So for
example over here I can provide it um a
lot of these different factors and I'm
also going to upload this as well. Um
the idea here is that if I go to my
valves I can okay now I definitely have
to purge this API key but I provided the
API base URL the model the size like
what if I want 1024 um or you know for
example 1024* 1536 and then the quality
for example if I want high quality low
or medium quality uh the output format
what I want that as and the moderation
whether I want auto or low for example
and then you can hit save And remember
that this is a pipe function. So if you
want haven't watched my video on pipe
function before, I'm going to link that
in the description. But basically a pipe
function is a model that you can choose
on the open web UI interface. So you can
simply choose this model and then ask it
to generate an image of a cyber punk
car, cool ghoul, weapons, guns, etc. And
then this is now going to be sending
this to the OpenAI API for image
generation. And then it's going to be
returning that particular image back.
And there we go. So, uh, created this
image of Cyberpunk, cool car, weapons,
and guns. So, it's interesting that it
selected this car. That's nice. Well,
either way, you get you get the idea.
So, what I'm going to do is um, as soon
as this video ends, I'll make sure that
I push all of my changes to the GitHub
repository. So, you can go in and you
can start using the app that I've also
created. Maybe if you wanted to like
play around with it, I'll make sure to
include a readme file as well. Um, you
can go in create like different variants
of this app. U, the only thing that
you'll need to do is add the API key in
the environment variable and then
everything else will just run um fine.
So, if you do create a multi-million
dollar SAS business, then please
remember to tip Professor Patterns. Uh,
but that's it for this video. Thank you
for tuning in. I will make a more
in-depth video as well on some other
things that I am thinking about doing
with this API. But uh for now, that's
it. Thanks for tuning in. I'll see you
in the next one. Goodbye.
Interactive Summary
Ask follow-up questions or revisit key timestamps.
This video provides a comprehensive guide on utilizing the new OpenAI image generation API. It demonstrates practical applications like building a local AI photo booth, integrating the API as a pipe function within Open Web UI, and covers technical aspects such as configuring API keys, adjusting parameters like image quality and format, and managing costs. The creator shares their approach to 'vibe coding' to build these applications and provides resources for viewers to experiment with their own implementations.
Suggested questions
4 ready-made promptsRecently Distilled
Videos recently processed by our community