ComfyUI Explained: A Beginner's Guide to Local AI Image Generation
Now Playing
ComfyUI Explained: A Beginner's Guide to Local AI Image Generation
Transcript
287 segments
hello everyone this is Professor
patterns and in this video we're going
to be looking at comfy UI now when I
first saw comfy UI I saw all of these
different nodes and I got really
confused like there's so many different
things that are happening and I thought
okay this is not really beginner
friendly and I'm just going to be
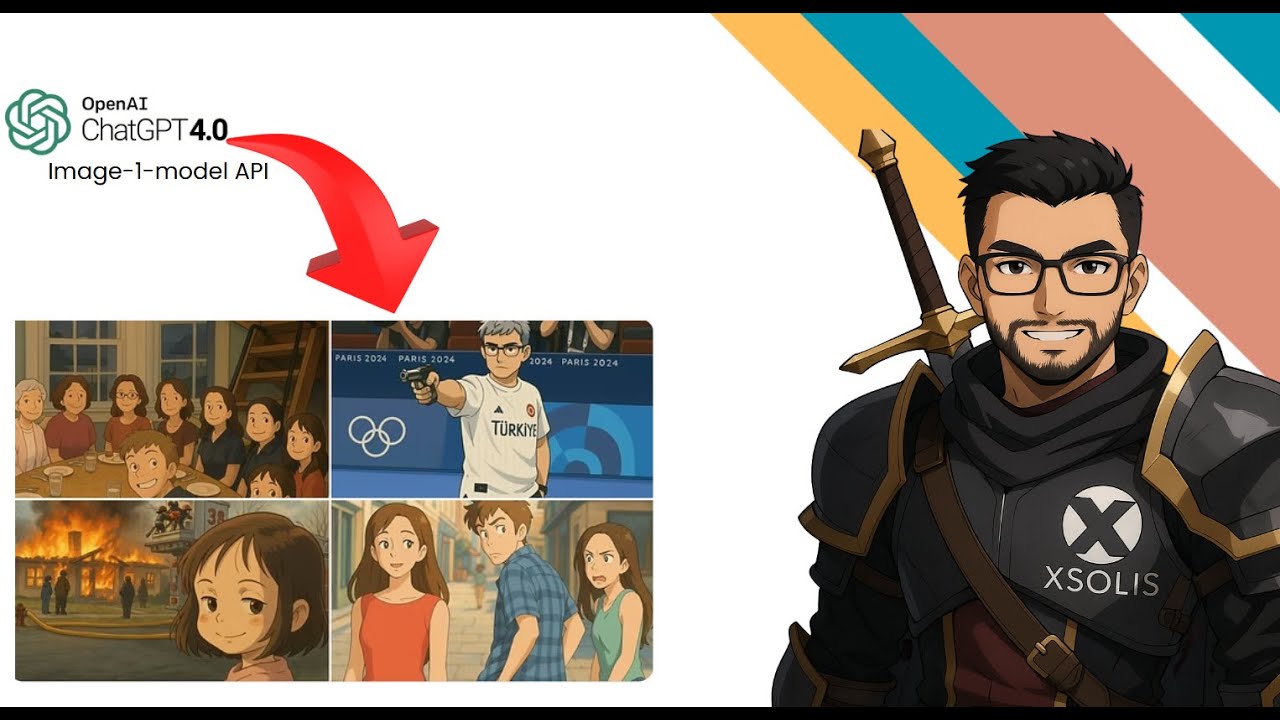
sticking to open ai's Dolly 3 Model it
was only when one of the subscribers
from this channel reached out to me and
said hey can you create a video on comy
UI and I thought okay well sure uh maybe
this might be a chance for me to take a
second look at it and I'm really glad
that they sent me that comment
because I could really see exactly how
powerful um comfy UI really is we can
use it for creating images obviously
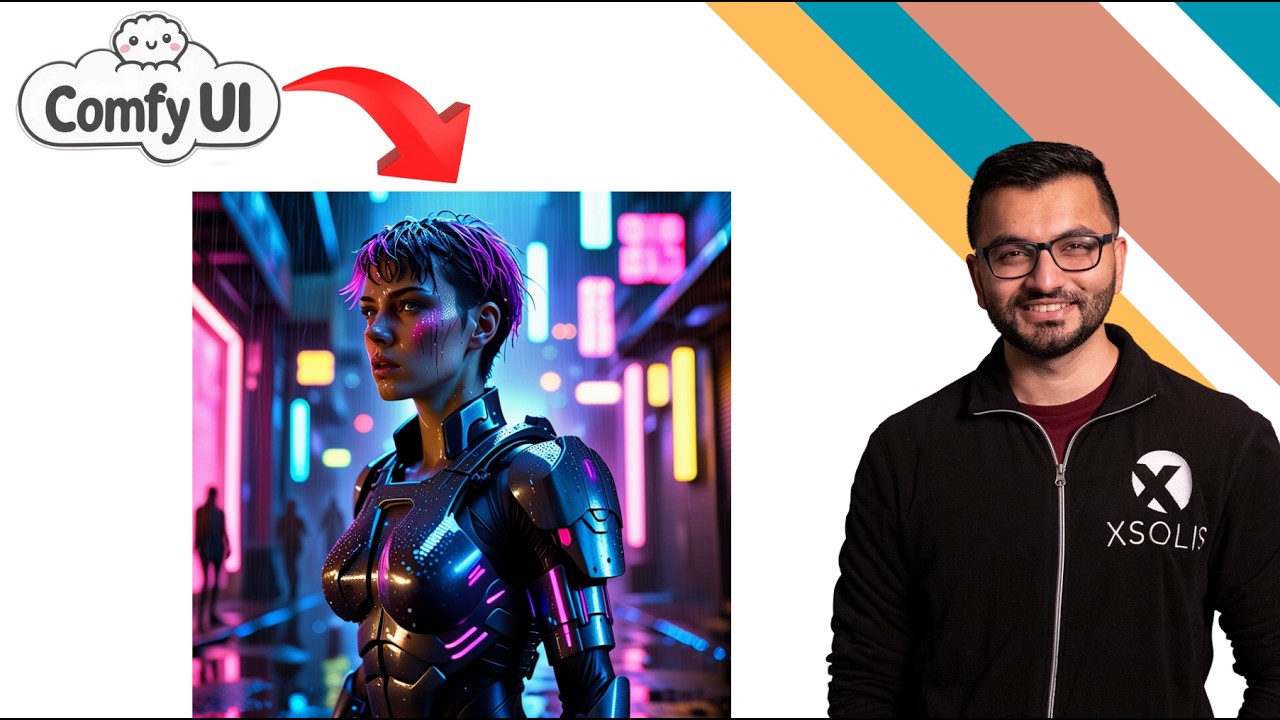
that look um really good so like this
for example image was created completely
locally on my computer using comfy UI um
you just have to do some prompt
engineering here and there which I'm
going to show you uh what that's going
to look like here in a second um but you
can also use comfy UI for things like
text to image generation you can use it
for things like with the same image you
can use use it for things like image to
video generation and you can see how
realistic this actually looks well
realistic in terms of the cartoon uh we
can use it for things like Scribble to
images so here the input is just a
simple scribble and it actually creates
this image uh over here we can see how
it's using an input image to then create
everything about this image like the
outline the background all of those
things uh this is one where we give it a
like a set of different poses and then
it creates uh characters based on those
poses it allows us to get a lot more of
a fine grain control on the image
generation process that's what makes it
so much more powerful here we can see
where we provide an input prompt
something like photograph landscape
scenery but we can also create nodes
that allow us to uh do things like add a
purple Galaxy bottle in this specific XY
coordinate in the image so we can see
what that looks like over here we can
create the sun in this specific XY
coordinate and that's what it would look
like there and for all of these
different images right that you see um
any image that was created with the
comfy UI workflow you can just simply
save that image just as a PNG file right
and if you open up this file you can go
over to your comfy UI um desktop
application you can simply drag and drop
that image on here and it's going to
load up the exact workflow that was used
to create create that image so that's
what's so powerful you don't need to
know all of these things you don't need
to know all of these noes and I think
that's what really was throwing me off
the first time I thought okay there's so
much things so many things that I'm
going to have to learn and I don't have
the time for it but I pretty easily
found out that there's an entire
community of people that have that are
really dedicated that have created all
of these different workflows for people
like us to really experiment with and
I'm very grateful for
them okay so now that we know what comfy
UI is how do we actually install it well
the first thing that you'll want to do
is to go to the comfy UI GitHub
repository now I know what you're
thinking no there's no Docker container
there's nothing like uh complex
installation process steps or anything
like that it's actually very simple all
you would do is just scroll down and
click on desktop
application and it's as simple as that
if you're on a Windows you'll download
this if you're on a Mac you download
this and then it's going to create an
icon on your desktop you can open it and
you'll get this interface that looks
just like this if you did want to get a
lot more of a fine grain control in the
installation process then what you can
do is scroll all the way down
here on whatever operating system that
you have so for example if you have
Windows portable you can uh select or
click on this link it's going to give
you a file you have to extract that file
and then you have to do some moving
around of things but why would you want
to to do that when there's a very simple
oneclick uh method of actually
installing it
now as soon as you're done installing U
comfy UI you're going to get this sort
of like a sample workflow like this is
not something that I have created this
is something that came directly when I
first opened up comy UI now the only
thing that I needed to do was to
download a model so the next question
that comes up is well what sort of model
should I be using well it really depends
on your GPU so if you want to create
really powerful or stunning
visualizations something that looks like
this well you're going to need a
slightly beef your GPU I am actually
running this on an Nvidia 490 but the
good thing here is that comy UI also has
a page that kind of shows you like What
GPU you should be buying uh for company
UI so it goes through like all of these
different tiers for um Nvidia we have
for AMD the C tier for Mac um and then D
tier F tier now what model should I be
using well the site that you can find a
bunch of these different models on is
known as civit AI So within civit what
you would do is you can search for
models and here you can see a bunch of
different models that are used for
creating all sorts of different
images now initially it might get
confusing right like okay well do I want
this model or this model and what's the
exact purpose or application now the
tool that I like to use is this one
that's known as imgs y.org the way it
works is it gives a prompt like this so
two men in athletic clothing stand side
by side and you can decide like based on
these two things which image do you like
more to be honest I like this image more
so I'm going to select left and I can
see that this is the half moon model
okay that's great let's try a couple
more images uh so they prompt a black
and silver skateboard truck uh concave
bottom this one looks a little bit more
realistic so I'm going to go right and
this one was the playground V 2.0 model
let's try one more so a set of 12
assorted soap bars wrapped in a red and
blue ribbon um to me I feel like this
one looks a little bit more realistic
and this one was the half moon model so
you can see that there there are all of
these people that have gone in and done
this an ation process and you can find
all of these different rankings here you
can just click on hugging face and
you'll be able to see an entire data set
of all of the different prompts and
which model end up winning for each
prompt if you don't care about that all
you need really need to do is just look
at this thing called Rank and then for
rank you can see exactly what are the
top ranked models so as an example I can
see that Flex one Dev Flex one pro these
are some highly ranked models uh I have
real Wiz XL 4.0 so suppose this is the
model that I want right I'm going to
copy this real Wiz Xcel version
4.0 I'm going to go to civit Ai and then
here I'm going to paste uh realz Excel
4.0 and then it shows up like this now
here I can see that it's a good thing
that I actually now have the latest
version which is version
5.0 um this is the 4.0 that we were
looking at before so there are all of
these different versions for each model
uh that we can use so suppose I use this
one the 5.0 model what I would need to
do is to Simply download this model so
if you hit download it's going to start
downloading this model locally on your
computer and why don't I just go ahead
and do that and there we go so this file
6.5 gigs was downloaded and I can see
what it looks like here on my downloads
folder now if I want to add this model
what I can do is just go to the place
where I had installed comfy UI and in
this case it's in my
documents um So within my documents the
place that I need to drag and drop this
model file is in the models folder I
would select checkpoints and then in my
checkpoints all I would do is just
simply drag this model place it right
here once that's done I pretty much will
now be able to start using this model so
that is how you can then uh let me open
up the interface if you if the model
doesn't show up um like this like the
checkpoints it should show up if it
doesn't you can simply load all the
folders or just hit refresh and then
after it refreshes it should show up as
long as the model is in this location um
for checkpoints it will be able to show
up
here okay so so far all we did was we
looked at a very simple a very basic
workflow all we would do is this
particular cell is or note is mostly for
loading the model from a
checkpoint this right here is where we
can put in some sort of an input prompt
and in my case the input prompt is a
wolf playing blackjack with three little
piggies um over here I can add in a
negative so for example suppose that I
don't want to see cards right like what
would that end up looking like um here I
can control more things so for example
um what is the length of the images so
for I can have something like 1024 x
1024 image sizes and those kind of
things this are more controls that will
allow us to create images so I can
change between different types so um for
example if you hover over each one of
these it'll tell you like exactly what
you would need so if I set the seed
as fixed that means that any single time
I I hit run I'm going to be able to get
the same looking image every single time
so this is the second time that I run it
this is the third time that I run it it
doesn't matter I keep getting the same
exact image if I set the seed as random
that way it's going to be able to give
me a completely new or random looking
image every single time this gets run
now I am going to be making a follow-up
video on comfy UI going exactly through
all of these different workflows I might
actually do an entire series on that for
all these different kinds of purposes
and application but for now I just
wanted to show you exactly what comfy UI
is what you can use it for and how you
can just generate some really basic big
beginner friendly images on CY UI
interface so try it out click the link
in the description below download comfy
UI um I want you to give it a prompt and
then see if you are able to generate an
image uh in future videos I'm going to
be showing you how you can create your
own nodes from scratch as well as how
you can actually create much more
complex workflows that you can create by
yourself or you can just borrow from
other people's workflows and then start
implementing that as well within comfyi
that's it for this video hopefully it
was useful you got to understand what
what comy UI is how you can download
models and how you can create your own
sort of content uh thank you all for
tuning in I'll see you in the next one
goodbye
Interactive Summary
Ask follow-up questions or revisit key timestamps.
This video introduces Comfy UI, a powerful node-based interface for image and video generation. It covers the platform's versatility, including text-to-image, image-to-video, and fine-grained control features. The guide explains how to install the software easily, how to find and download high-quality models from sources like Civit AI, and how to set up a basic workflow to start generating content locally.
Suggested questions
5 ready-made promptsRecently Distilled
Videos recently processed by our community