Disaster Averted By Luck: The Chalfont & Latimer Incident | Plainly Difficult
Now Playing
Disaster Averted By Luck: The Chalfont & Latimer Incident | Plainly Difficult
Transcript
384 segments
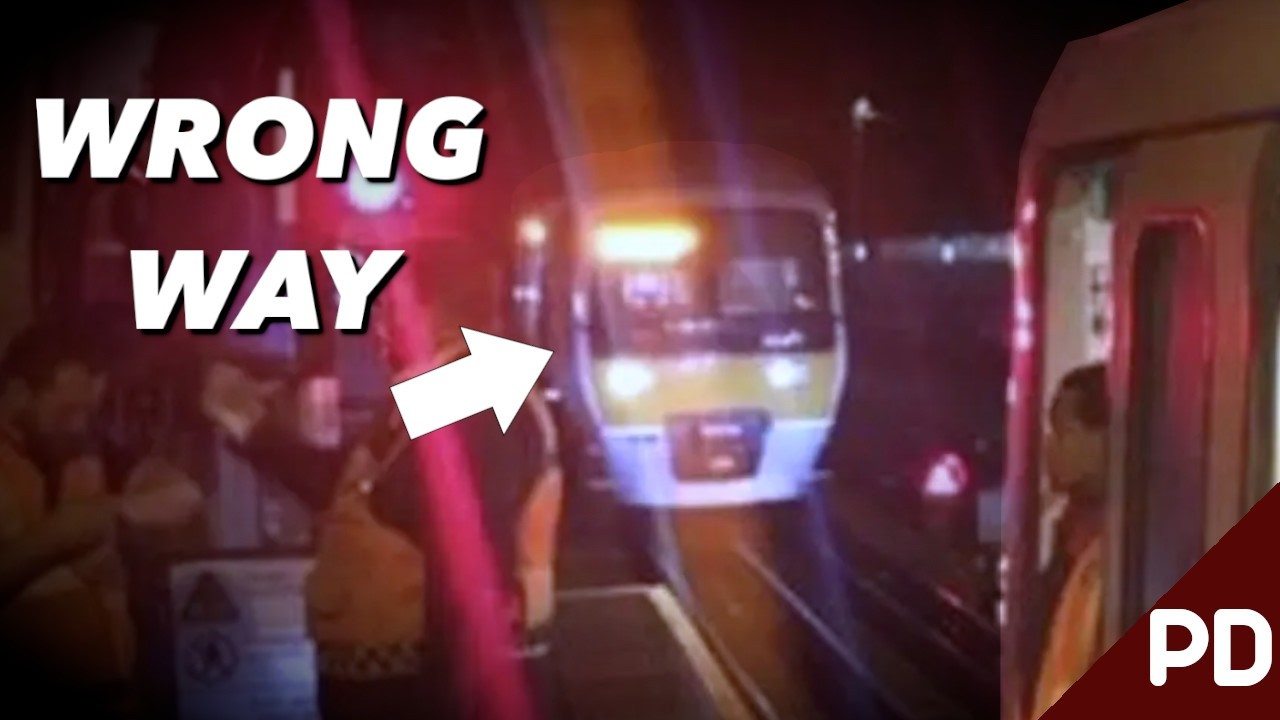
It is the 21st of June, 2020. And news
agencies across the country are showing
a very concerning picture. Two trains
uncomfortably close. Now, you might
think that this was some kind of
emergency permissive working, where two
trains were allowed in a signaling block
to allow for a detrainment. I mean,
there are loads of people milling
around. But, no. Two trains on this one
track was not anyone's intention. It is,
in fact, an event that was a cigarette
paper away from a catastrophic head-on
collision. Just 23 m away, in fact. So,
what actually happened here? Well, it
would be a deadly mixture of
interoperability between two different
train companies, differing operating
practices, and National Rail trains on
tube train tracks. So, sit back, relax,
and watch our short documentary on the
Chalfont & Latimer balls-up. My name is
Jon, and welcome to Plainly Difficult.
This video wouldn't have been possible
if it wasn't for my Patreon, YouTube,
and Ko-fi members. If you want to have
early access to the channel's videos,
then you can from just £1 per month. And
as always, the links will be in the
pinned comment below.
>> [music]
>> National Rail trains on London
Underground metals. So, the near
catastrophic disaster that unfolded in
2020 can trace its roots all the way
back to the early days of London's
railways.
That is to say, the reason for the
non-segregation
of Underground trains and National Rail
trains along a few particular parts of
the capital city's rail network.
There are a few places where this
happens, like the Bakerloo line, which
runs partially on the Watford DC,
District Line trains and Southwestern
trains operating near Wimbledon, and
mainly for our story today, Chiltern
services on Metropolitan Line tracks.
You see, when the Metropolitan Line was
initially envisioned in the 1860s
as the world's first underground
railway, it wasn't thought of something
separate from normal regular trains.
As it extended out of London into the
Buckinghamshire countryside, during the
years of extension the line would share
trains running in and out of Marylebone.
With the route being connected to
Aylesbury
for a while, Met Line trains even ran
and terminated at Aylesbury itself.
Changing over from electric trains to
steam at Rickmansworth.
However, from Amersham in the 1960s, the
line was electrified. This marked
beginning of a separation of services
when Met Line trains operations would
end at the end of the traction current,
thus not needing a changeover from
electric to steam locomotives.
Now, I'm no historian, so pretty much
watch any Jay Foreman Hazard video on
the Met Line for a better and less all
over the place explanation of the
route's history.
But a TLDR is two types of train
services
that run on the line are electric
underground trains to Baker Street and
from the 1960s, diesel trains to
Marylebone. And from Amersham to Harrow
on the hill, both types of trains worked
through the route.
But there is a slight issue here.
British Railways and London Underground
used two different types of signaling
and operation systems.
So, what do you do?
Well, in these cases it all comes down
to who owns what. In our story, the
owner is the Underground and they get to
set the rules of the game. So, let's
have a look at how this is done
in the modern day on the Metropolitan
Line. The National Rail trains that
share the route are operated by Chiltern
Railways and the section of the Met Line
that it shares with underground trains
signaling resembles more national rail
style signaling principles rather than
underground ones.
It's kind of more like how someone would
set it up if it only been explained to
them rather than actually shown.
The signaling here is three and four
aspect unlike the two aspect and
repeater based style used on other
underground lines.
But here there is no AWS or TPWS.
Instead protection is provided with
mechanical tripcock train stop
protection like other underground lines.
GSMR however is provided but only for
Chilton trains. Now at selected
locations signals are given fog
repeaters. They can show white if the
signal it's repeating is showing a clear
aspect or a single yellow if the signal
it's repeating is at danger.
They act as an additional warning to
drivers even when there isn't fog. Now
there are loads of other differences
during this section of track between
national rail and LUL rules and
procedures.
Such as trains can pass a signal at
danger under their own authority as long
as it is an automatic signal. Plus after
passing a signal at danger they must
only proceed at a speed that they can
see to be clear and be able to stop
short of any obstruction. Underground
trains are actually physically limited
in their speed to just under 10 mph. A
train can resume line speed only after
it's proceeded past two stop signals
showing a proceed aspect.
What is important to note with the
tripcock system is it can be susceptible
to being triggered accidentally by
debris along the track.
This is because the system relies on a
mechanical arm that is mounted next to
the first set of wheels on a train.
Things like rubbish, footballs, coats,
umbrellas
and well pretty much the list is endless
of things can trip a train. But
regardless if spurious or not the driver
must stop their train and report the
trip to the signal.
To be tripped, reset and carry on
without informing the signal
is a serious incident.
Which leads us on to the
the event.
So this is Chalfont & Latimer station on
the Metropolitan line. It has three
platforms and three tracks. Platform one
is for trains heading on the northbound
line towards Amersham. Platform two is
for trains southbound heading towards
London and platform three is a bay
platform. This is used for shuttle
services to Chesham on a single line
branch.
Now trains from both platforms one,
two and three with two for shunting
movements only can go onto the single
line branch to Chesham. From platform
one, this brings in a conflicting
movement across the southbound line. So
it is the 21st of June 2020 and a driver
is taking over London bound Marylebone
Chiltern service from Aylesbury.
They are working the second half of
their shift and the train is arriving
for the handover just a couple of
minutes late.
The Chiltern service departed around
21:15 and began its journey towards the
LUL boundary just north of Amersham.
Upon arriving at Amersham, the train
driver undertook their usual station
duties and started their train from
platform three.
The starting signal Juliet Whisky two
was showing double yellows. This meant
that two signals ahead were showing
danger. This was Juliet Tango six.
Now this was because the signal at
Amersham had a late running Met Line
Chesham service on approach to Chalfont
& Latimer.
They had prioritized the underground
service thus set up the conflicting
route from platform one at Chalfont &
Latimer across the junction onto the
Chesham single line.
No bother. This was often done and the
movement was in theory protected by
signal and train stop protection.
The Chilton train departed Amersham and
moved over the tripcock tester below the
required speed of 10 mph. The test was
completed successfully, thus proving
that the train's tripcock was in
operation.
Once clear of the station, the driver
took full power. Shortly after, the
train was at around 55 mph. It
approached the fog repeater associated
with signal Juliet Whisky 5 and then
signal Juliet Whisky 5 itself, showing a
single yellow.
The driver should have slowed down a
while ago. Many companies recommend a
maximum speed of between 30 and 35 mph
when passing a single yellow.
Around 15 seconds later, the driver
noticed the train speed had risen to
around 62 mph. This was over the max
line speed of 60 mph. They then applied
a small amount of brake step one
to drop the speeds down to below the max
line speed.
The train was hurtling towards Juliet
Tango 6 at danger. The train approached
the yellow aspect of the fog repeater
for Juliet Tango 6. This should have
reminded the driver of the danger signal
ahead, but sadly not. At the same time,
the Metropolitan line train due to go to
Chesham was on platform one at Chalfont
& Latimer, undertaking its normal
platform duties.
Signal Juliet Tango 80 was showing a
proceed aspect with a junction indicator
in the fourth position.
You can also call this a feather to the
diverging route. At 21:43, the Chilton
train passed Juliet Tango 6 at danger.
The tripcock was tripped by the train
stop for Juliet Tango 6, and the
emergency brakes were triggered. The
train was traveling close to 60 mph at
this point.
Grinding to a halt, the driver reset the
tripcock, thus releasing the emergency
brakes, and then took power.
Meanwhile, the Met Line train had closed
its doors and began to depart the
station.
The operator saw Juliet Tango 80 change
back to danger and slammed on its
brakes.
The train was still, luckily, in the
platform.
The Chiltern train took power reaching a
speed of around 27 mph.
The driver coasted and made a step one
application of the brakes.
It pushed through the points at the
Chesham single line junction.
The driver released the train's brakes
and then applied the emergency brake
when feeling the train jolt as it passed
over the first set of points on the
crossover that was set towards platform
one at Chalfont & Latimer station.
The train was traveling at 25 mph over
the point work intended for a max line
speed of 15 mph.
The train bounced and rumbled across the
second part of the crossover ending up
facing the train on platform one
grinding to a halt just 23 m from the
front of the Met Line train.
Disaster was averted, but by only the
smallest of amounts.
The Met Line train was immediately
evacuated, but passengers aboard the
Chiltern train would be stuck aboard
for another 87 minutes.
Now, no one was injured or killed as the
collision, thankfully, didn't happen.
But the point work was severely damaged
and delays due to the incident would
cause disruptions for the line.
The avoidance of the disaster was more
of just a case of luck. So, what on
earth happened?
Well, this is where long-term friends of
the channel, the RAIB, would slither
into our video.
The investigation.
So, investigators would first of all
download the Chiltern train's onboard
data recorder
and the information they would find was
not good. This, in addition to witness
evidence and CCTV recordings, showed
that the driver did not stop at Juliet
Tango 6 at danger.
Instead being tripped by the train stop.
Basically, the safety system intervened.
But disaster still could have been
averted here as the driver should have
contacted the LUL signaler and informed
them of the unsolicited brake demand.
They did not. Later on in interviews,
the driver would state that they
believed that they had been tripped on a
piece of debris on the track. Thinking
this, that they did not then need to
seek permission to restart the train
after resetting the tripcock equipment.
This is a massive no-no as you're
basically overriding the key piece of
equipment to protect trains from
crashing into one another. The RAIB
would highlight the reasons behind the
driver's actions. The first being
fatigue. The driver claimed that they
had been experiencing ongoing issues
with getting adequate rest. This would
explain the apparent lack of responding
to the restrictive aspects that they
were driving to. They weren't really in
their head in the cab that evening.
The other main issue was that Chiltern
Railways had a few gaps in its
competence management and training,
especially concerning operating over LUL
infrastructure. Reportedly, even
the assessment paper completed by
Chiltern Railways drivers didn't have
any questions about the actions of what
to do after a tripcock activation.
The RAIB would summarize, "Chiltern
Railways driver management processes did
not effectively manage safety related
risk associated with the driver.
It is probable
that this is a factor underlying the
incident and possible that this was the
consequence of an insufficient number of
driver managers and their high
workload."
The RAIB would also say,
"Assessments undertaken by Chiltern
Railways and LUL did not accurately
assess the risk of a collision arising
from a Chiltern Railways driver
resetting the tripcock and then
proceeding without authority."
However, the deficiencies identified in
Chilton's management of the driver
suggest that even had the risk been more
accurately assessed, it is unlikely that
improvements to this assessment would
have resulted in sufficient mitigation
to prevent the incident at Chalfont and
Latimer.
So that's my video on the Chalfont and
Latimer near disaster. And it's good to
do a non-disaster for a change. So it's
Skelton. It's going to be a one or a
two. This is what I've got for my root
cause analysis card. Do you agree? Let
me know in the comments below.
This is a Plain English Productions. All
videos are under Creative Commons
Attribution-ShareAlike license. Plain
English videos produced by me, John, in
a currently very cold cold corner of
South London, UK.
And always I say thank you very much for
watching. And may some music play us
out, please.
>> [music]
[music]
[music]
Interactive Summary
Ask follow-up questions or revisit key timestamps.
This video explores the near-catastrophic rail incident that occurred on June 21, 2020, at Chalfont & Latimer station, where a Chiltern Railways train and a London Underground Metropolitan Line train came within 23 meters of a head-on collision. The incident was caused by a combination of complex signaling differences, operator fatigue, and inadequate training at Chiltern Railways, which led the driver to incorrectly assume a tripcock activation was due to debris rather than a signal danger, causing them to proceed without authorization.
Suggested questions
3 ready-made promptsRecently Distilled
Videos recently processed by our community